I ordered a KIM-UNO kit, which should arrive in a couple weeks, but in the meantime, I decided to see if I could cobble one together with parts I had around... Turns out, I can.
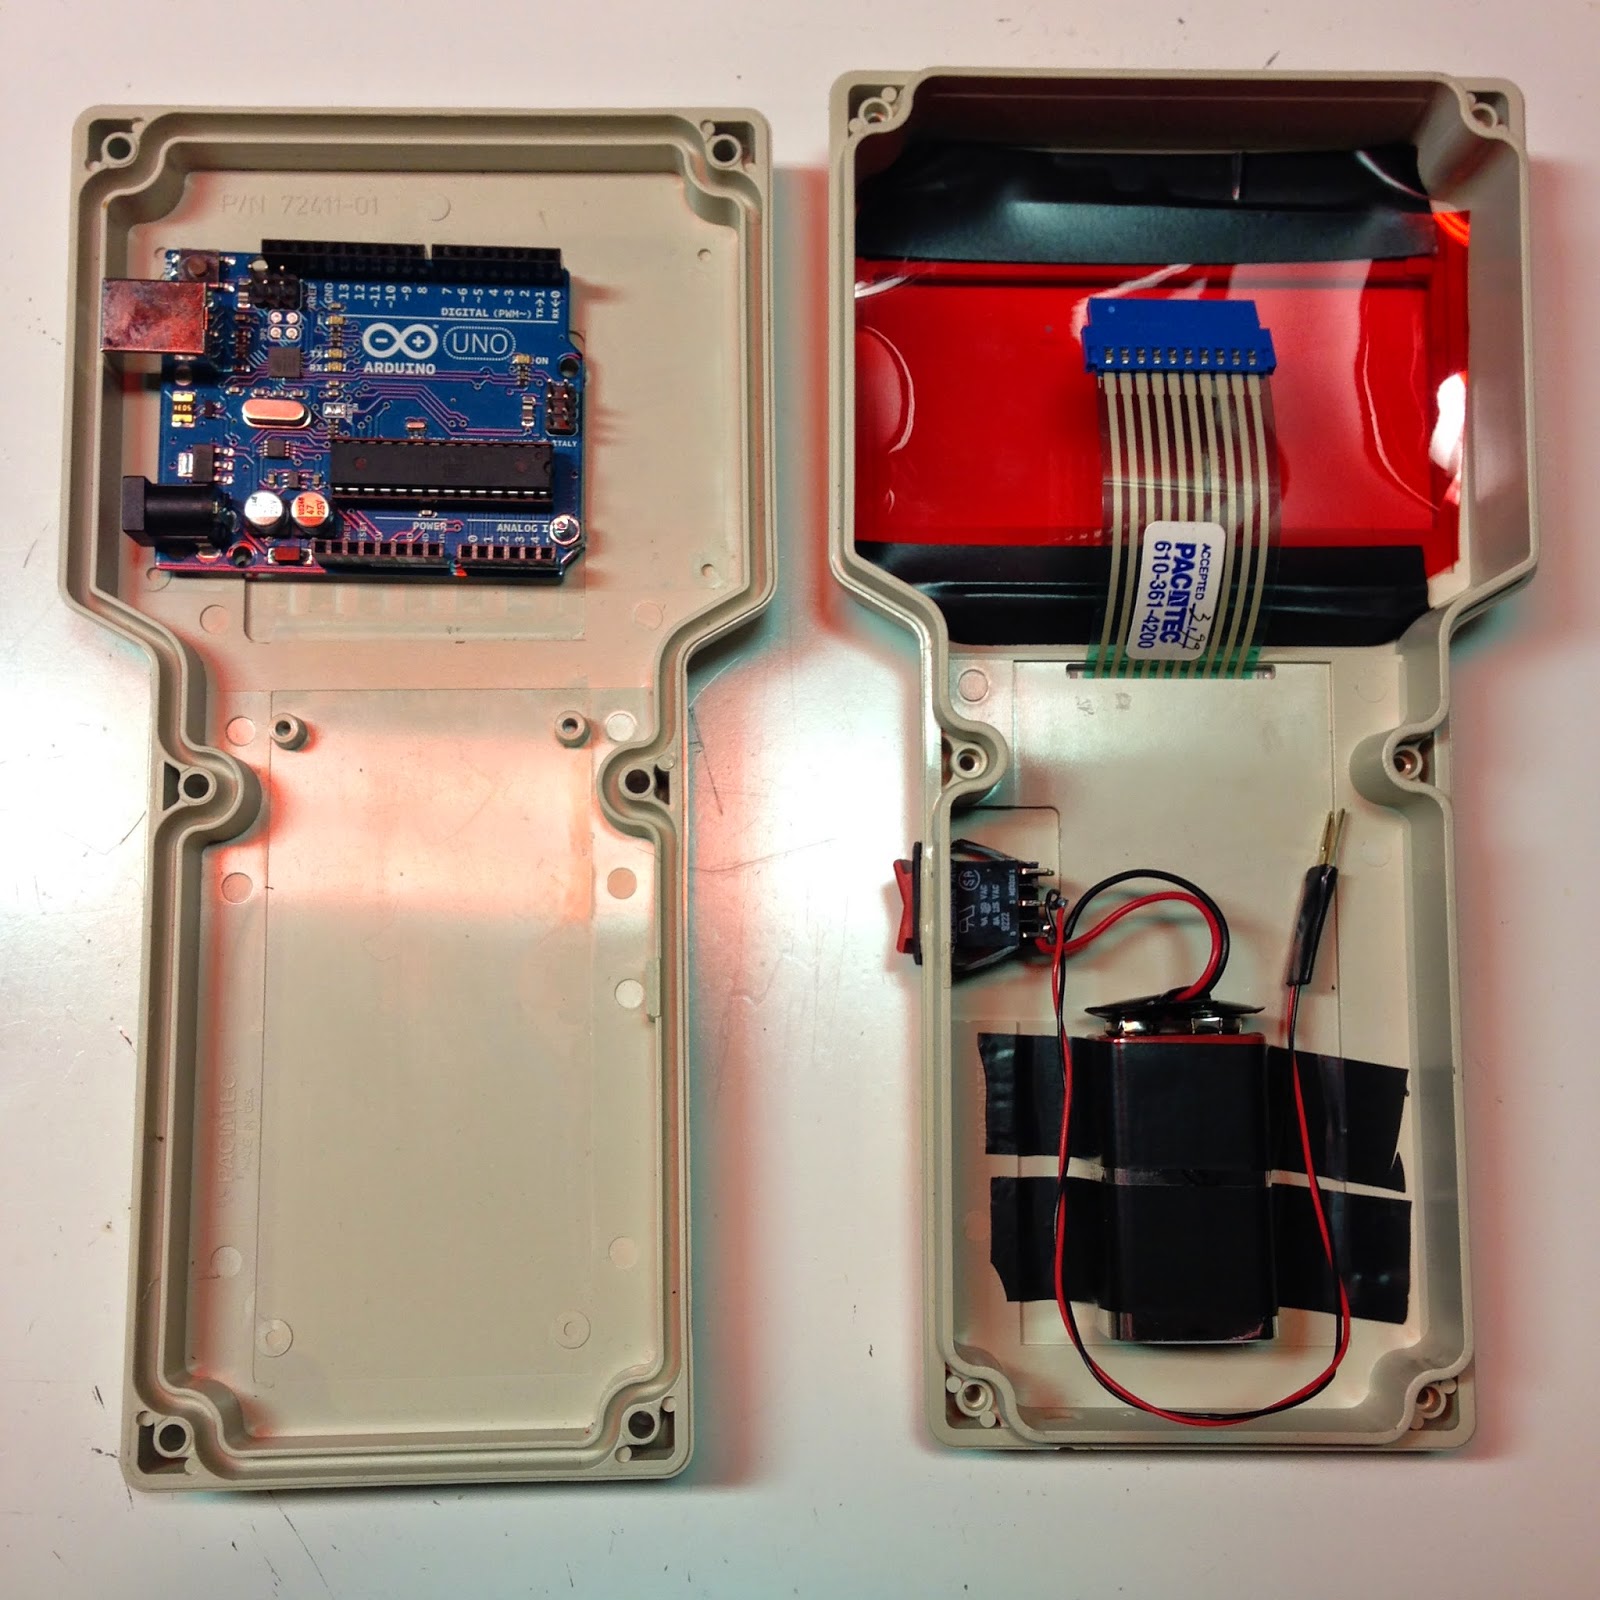
I used an Arduino Uno R3 as the base micro board. On top of that I have a Seeed Studio protoshield, with connectors for the display and keypad, as well as 220 ohm resistors for the display.
Not the best soldering job ever, but it'll do.
I went through a bunch of different versions of the circuit for the keypad scanning, and I finally resorted to using a breadboard to figure things out. Since I switched this from a common anode to a common cathode display, the circuit for the keypad matrix got all confused as-is.
In a nut, the polarity of the power to the display was reversed, which caused the keyboard to not scan properly. I had tried a few circuits that should have worked, but didn't... one with a load of diodes, one with a mess of resistors... I eventually decided to just wire it in directly, and use the Keypad library. Once I realized i had to manually initialize the pins before scanning, it all Just Worked(TM).
To test those bits, I made a sample Arduino sketch that displays and scans the keyboard so that I could get the code working with these devices.
The display itself is an 11 digit 7 segment display that I found up in Active Surplus on Queen Street, Toronto, a bunch of years back. KIM emulation only uses 6 of the digits. (More about this display module in this other post.)
The keypad and case I got from a hamfest... they were part of some project that someone was working on at one point. I have a second case like this somewhere. The above picture shows the printed out keypad labels (Futura font) which I cheapo-laminated to the case using lots of magic transparent tape.
Mix in a little 9v battery snap, a power switch, a piece of red gel, and I've got my own little portable KIM clone
I should note that I also had to hack the KIM-UNO source project a little to support my display (Common Cathode instead of Common Anode) as well as to support my keypad which is wired as 4x6 buttons, rather than the 3x8 that the reference project uses. A few evenings of hacking on the source and here we are!
I've also got a post up about the software/firmware modifications I made on the KIM-UNO source...
I've also got a post up about the software/firmware modifications I made on the KIM-UNO source...


Hi,
ReplyDeleteI am writing some applications for the Kim-Uno platform. Check them out here:
https://www.instagram.com/explore/tags/kimunoprogram/