

My mid-80s (flatnose) 1:12 scale Saab 900 Turbo. I 3D printed my own set of 24-spoke "manhole cover" wheel covers for it. I have a design for the "Inca" wheels too, but I can't get them to print right.

Rear shot showing the back lights and trailer hitch.

The trunk hatch opens!

And the hood slides open just like the real one. Also you can see the 3D printed steering wheel.

Trailer hitch? Let's hook up a trailer!
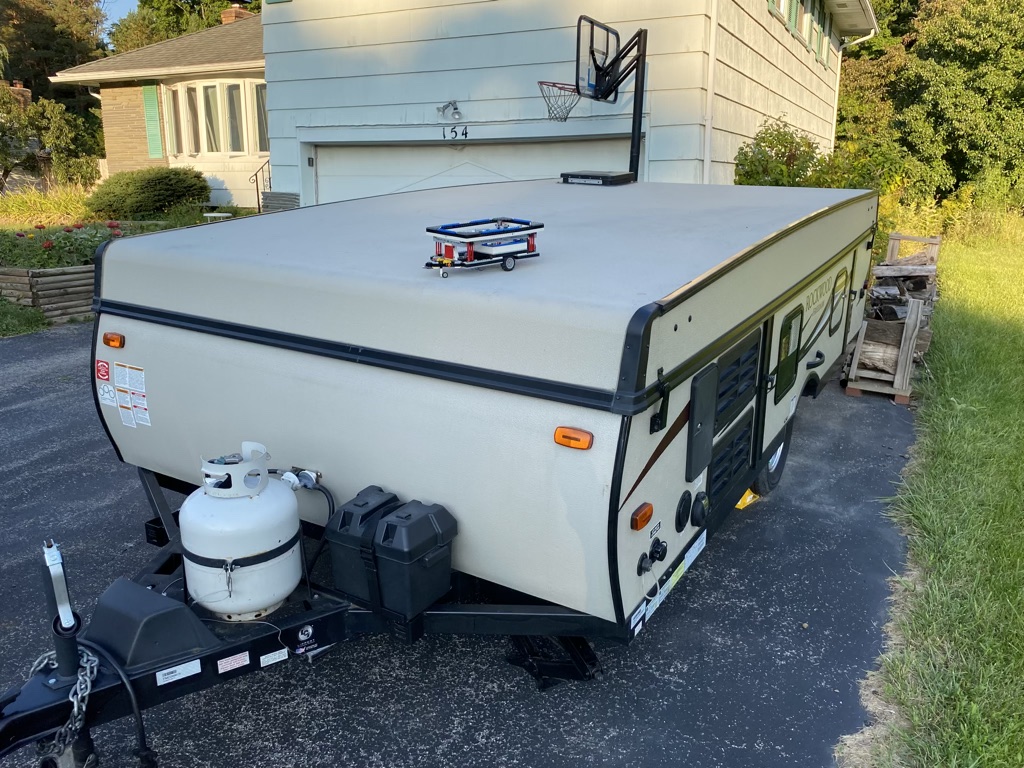
This is a 1:12 scale reproduction of our Forest River 2318G pop up camper...
Let's look at that and all of its features in more detail now!

First, let's detach it from the car.
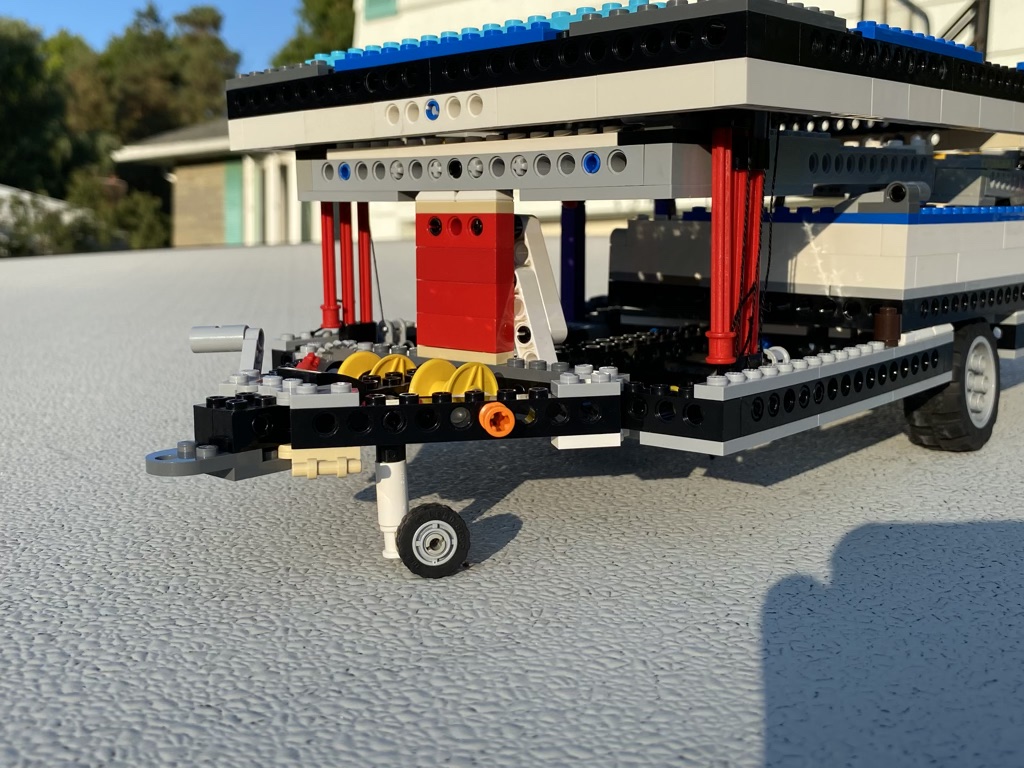
Lower the small support wheel first of course!

Lower the four stabilizers in each of the four corners.

Next, let's turn the crank to raise the top!

The lifting mechanism is based on the real one. One string from the crank pulls a liftarm that slides, which pulls the four additional strings that go to each corner's telescoping lifter. I used some "rigid" tubes to help guide the strings better.
The only issue is that by the time the force of the string pulling gets to the end bits of the liftarm, there's not a lot of power left... so it can lift the arms just fine, but not when the roof is in place. So we need to remove the roof first...
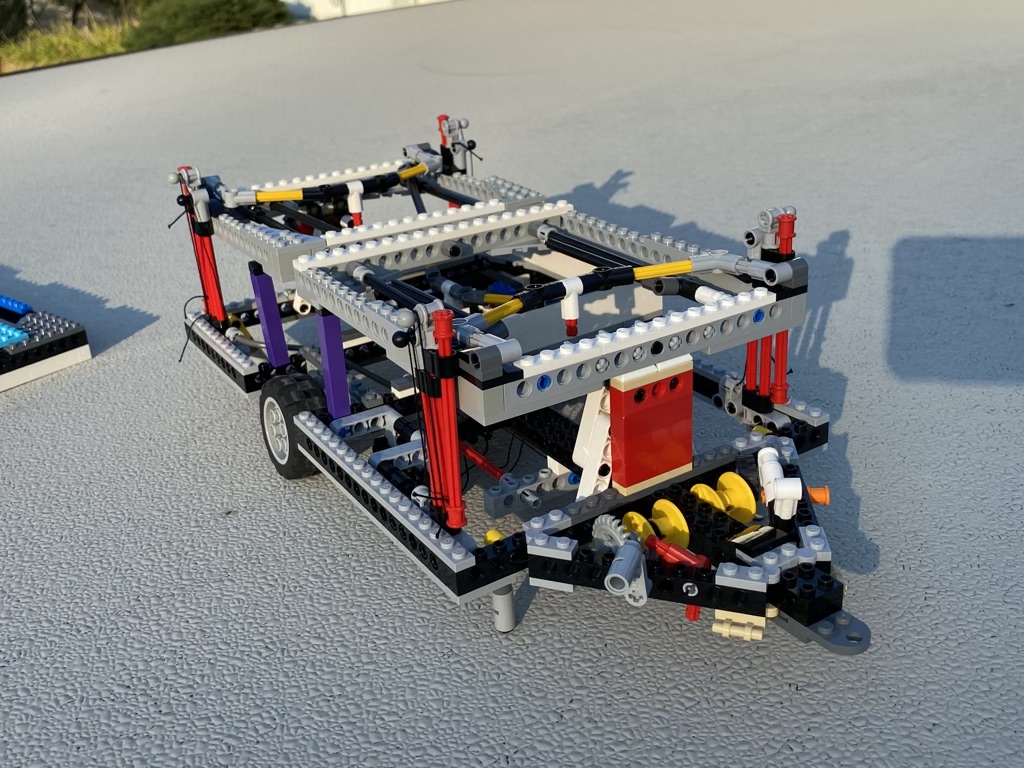
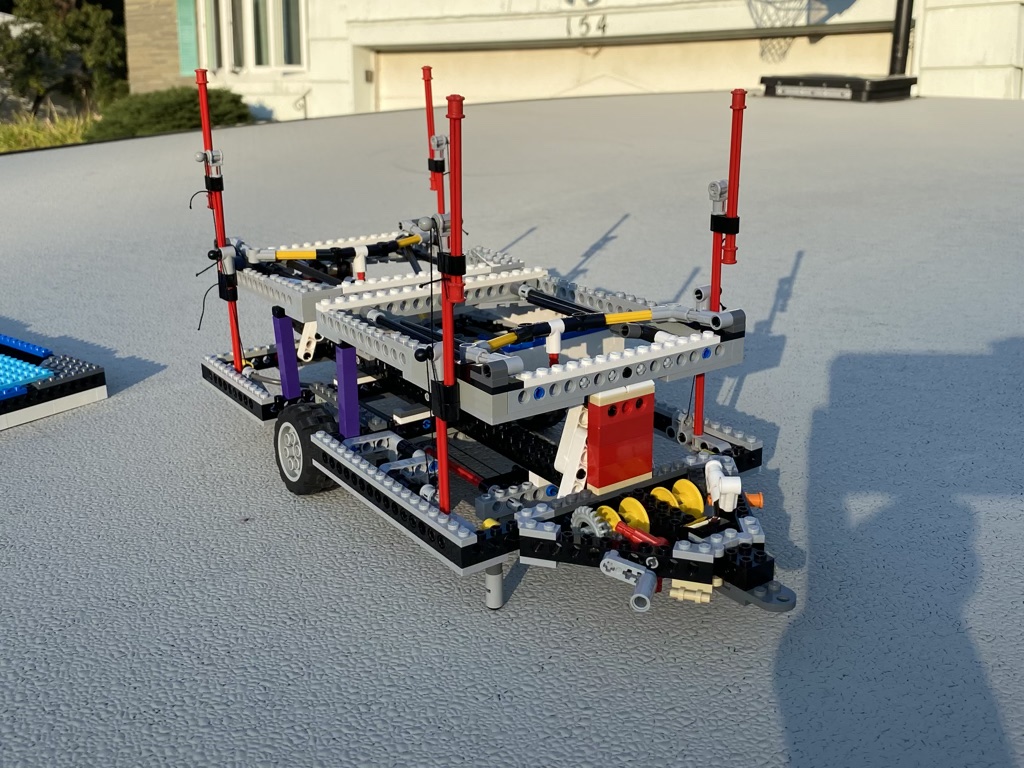
Turn the crank and it lifts the four corners!

And now we can put the roof back in place.

Slide out the front bed...

and lower its support stabilizers

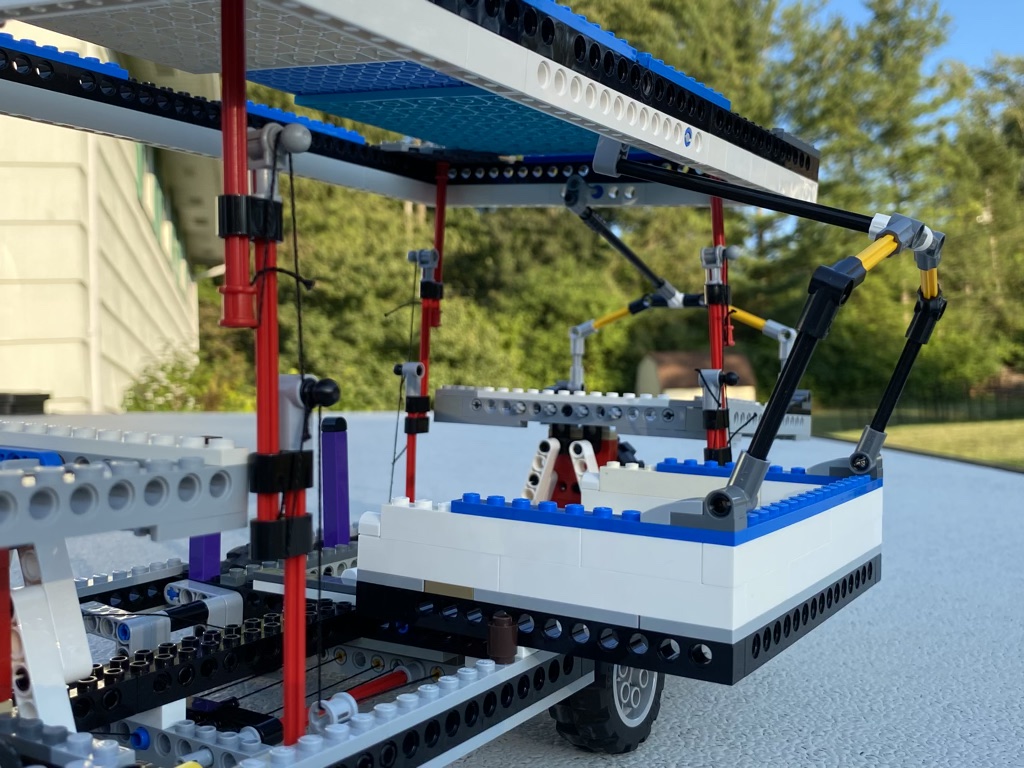
Next we fold up the end fabric support frame

and hook in the roof support bar

and then we repeat this for the rear bed.

Looking good! Next we need to slide out the dinette.
Look, i know it's ridiculous to have a slide-out on a popup camper, but this is based on my real camper that does this. And it is ridiculous. :D

It just slides right out, no supports underneath needed.
Fold out the side frame and insert the roof support

The only remaining thing to do is to pull out the step that helps you get in easier!

There we go! On the real camper, the entrance door is right there in front of the wheel.
And that's it! The camper is all set up now!
Here are some more pics of the completely setup camper, as well as the real one that it's based on...
which it's been sitting on this whole time! HA!


Yay!


.png)


